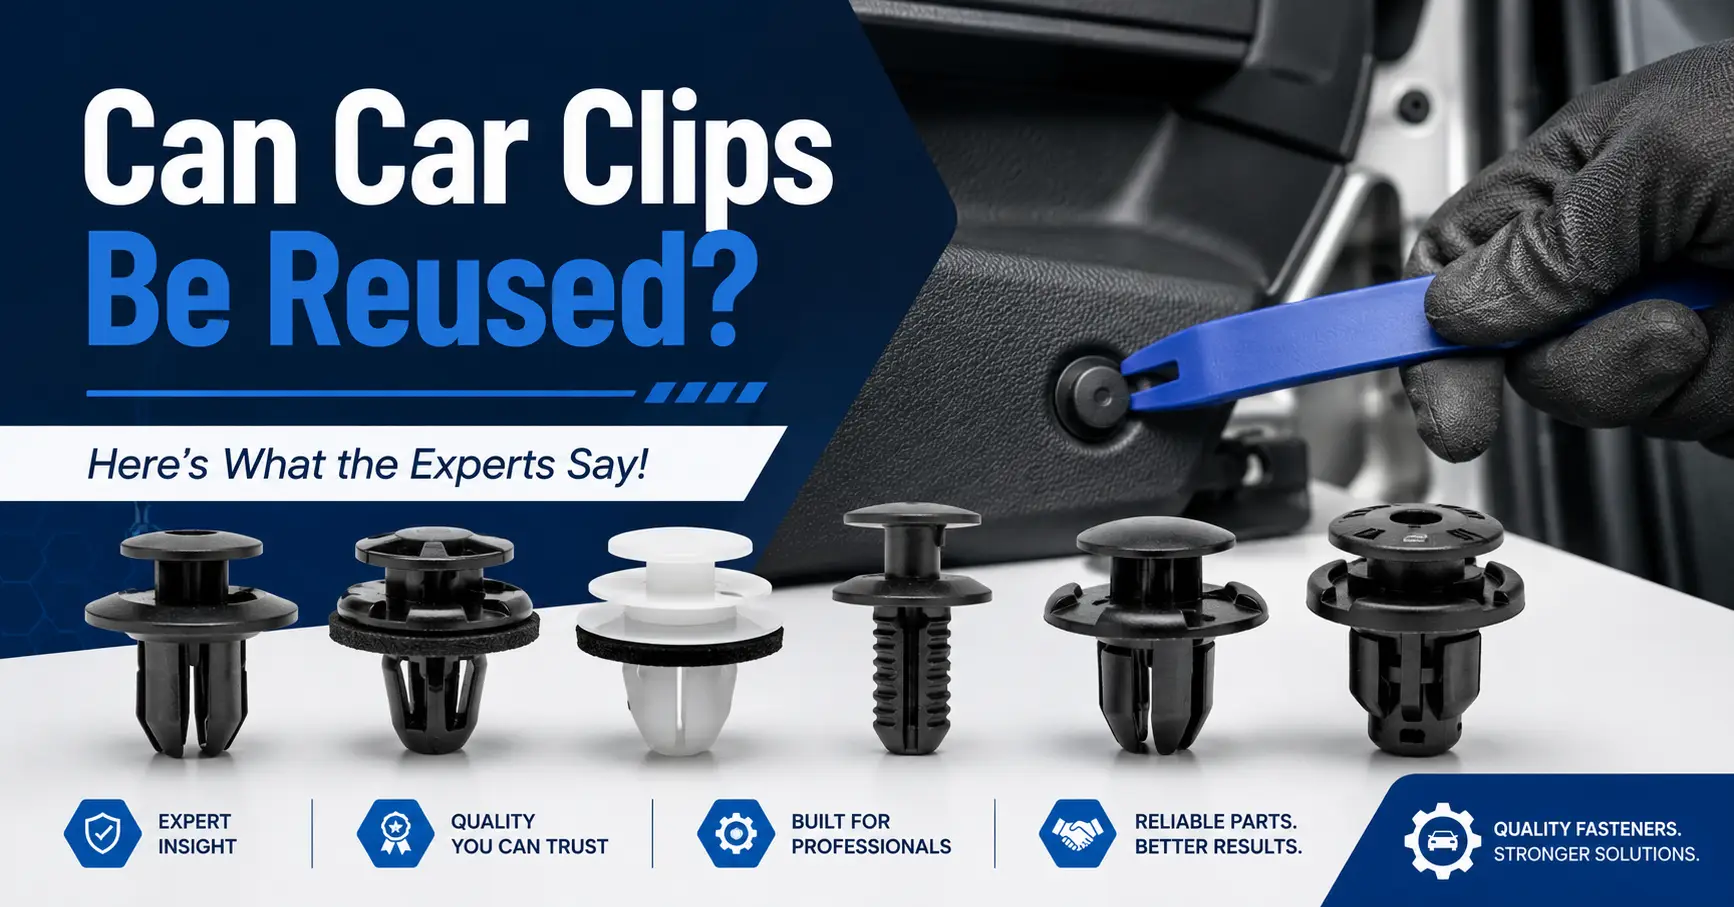

Clip Broken? Don’t Replace Blindly — Step-by-Step Removal and Installation Guide
A loose door trim. A rattling bumper. A cracked engine cover clip.
The first reaction is often simple: replace it.
But improper removal causes more damage than the broken clip itself. Scratched paint, enlarged mounting holes, warped trim panels—these problems usually come from forceful extraction.
At QEEPEI, we frequently receive damaged samples from workshops. As a professional Automotive Clips manufacturer, we can confirm that correct removal technique significantly affects panel integrity and retention performance.
Replacing a clip is easy. Replacing it correctly is technical.
Understanding How Automotive Clips Lock in Place
Most automotive clips rely on elastic expansion. The retention comes from:
- Barb geometry
- Shaft compression
- Material elasticity
- Hole tolerance fit
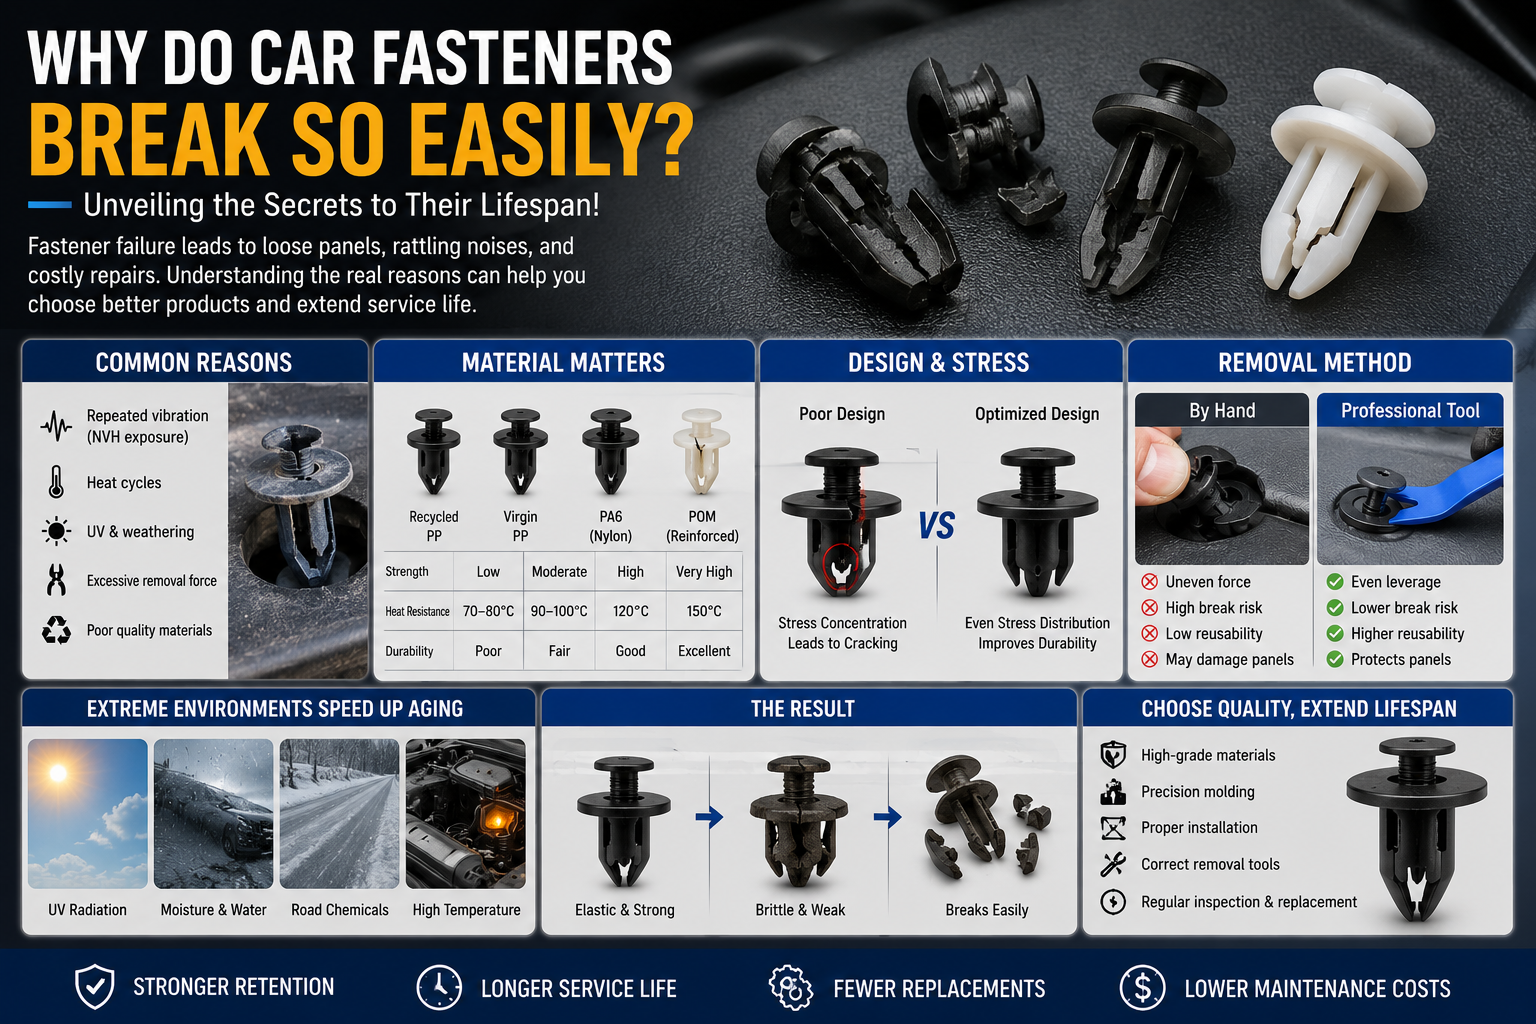
Common materials include PA6 and PA66 nylon. Their elastic memory allows expansion after insertion, creating holding force between 180–260 N depending on design.
If removal exceeds elastic recovery limits, barbs fracture internally—even if no crack is visible.
According to SAE fastening discussions (https://www.sae.org), excessive removal angle is one of the primary causes of clip fatigue damage.
Understanding the locking mechanism prevents secondary failure.
Step 1: Evaluate Before Removal
Before touching the clip:
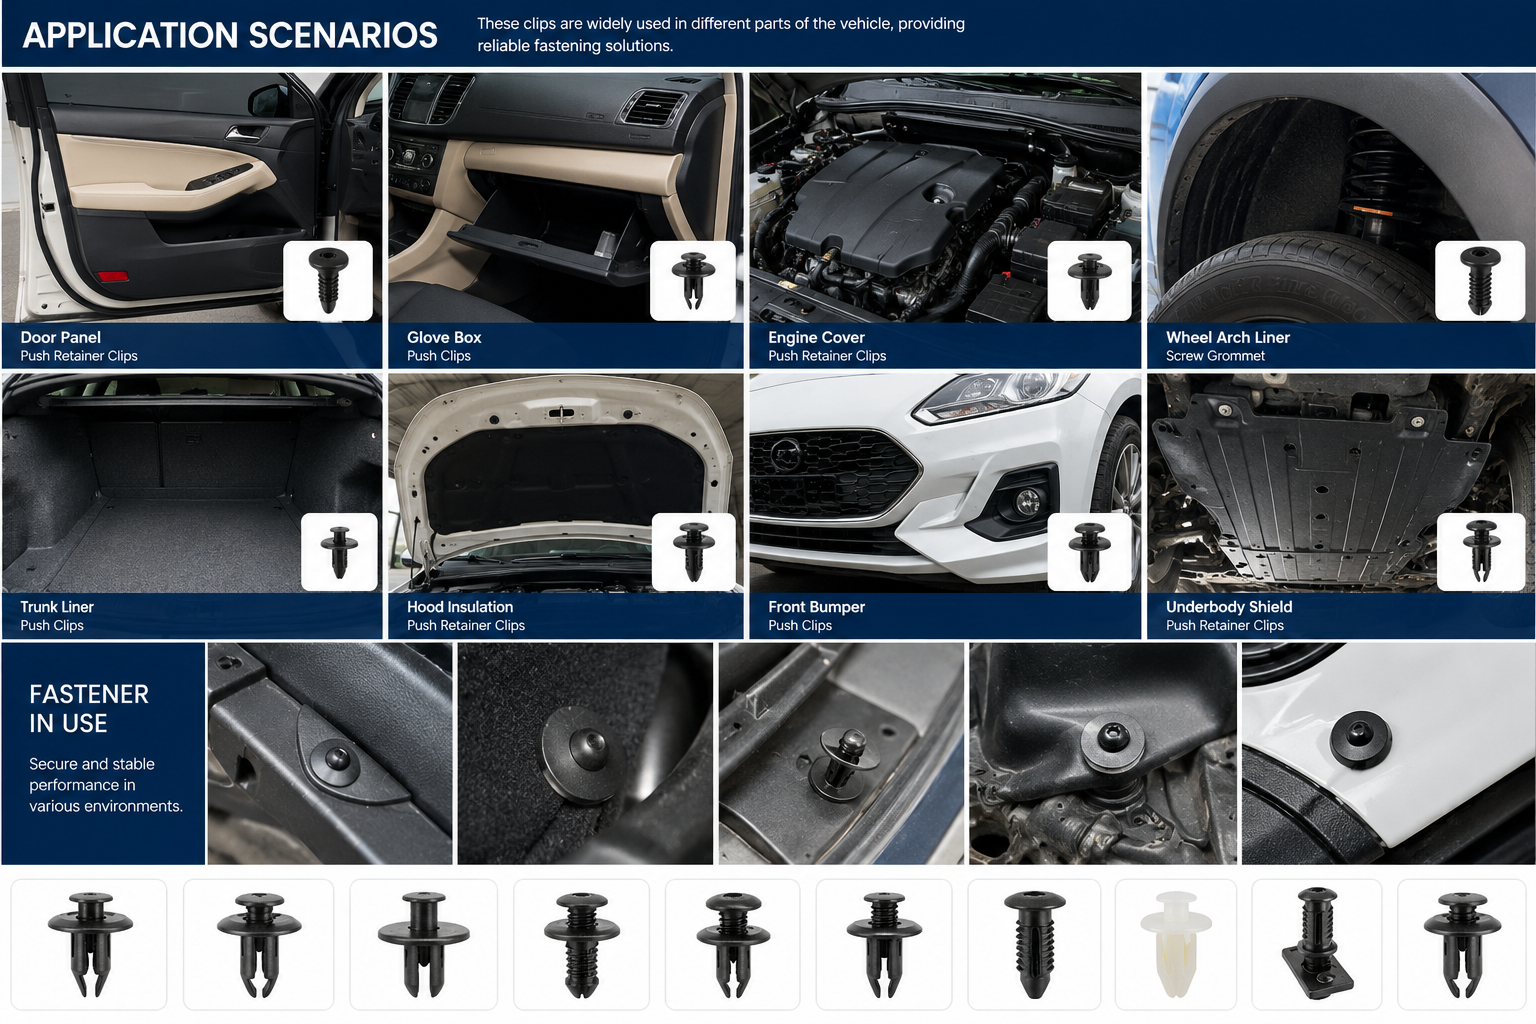
- Identify clip type (push-type, rivet-type, screw-type)
- Check access direction
- Inspect surrounding panel thickness
- Assess if clip head is reusable
Using the wrong angle can enlarge hole diameter by 0.2–0.4 mm, reducing future retention strength.
Never pull straight out blindly.
Step 2: Use Proper Removal Tools
Correct tools reduce stress concentration.
Recommended tools:
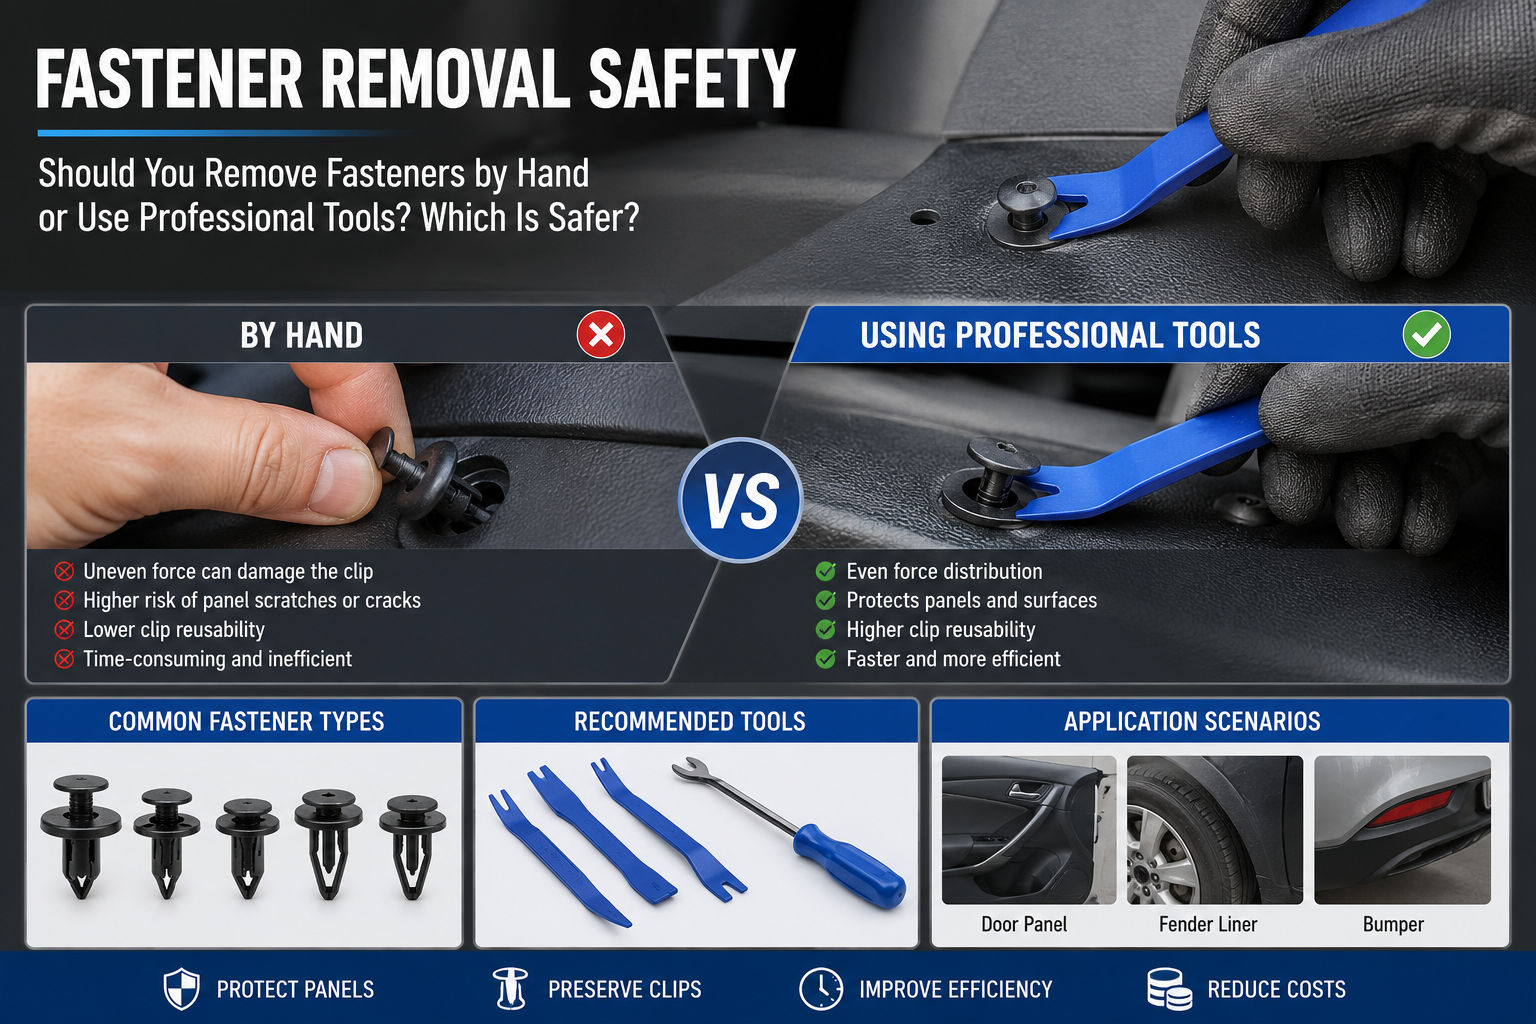
- Trim removal lever
- Fork-type clip remover
- Plastic pry tool
- Clip pliers
Avoid:
- Screwdrivers (cause surface damage)
- Metal pry bars (increase crack risk)
Tool-assisted removal reduces barb deformation by up to 35% compared to manual pulling.
An experienced Automotive Clips manufacturer always recommends tool-based extraction.
Step 3: Inspect the Clip After Removal
After extraction, examine:
- Whitening marks near barb root
- Micro cracks
- Shaft bending
- Barb rounding
If deformation exceeds 10–15°, replacement is recommended.
Interior trim clips may tolerate reuse. Exterior or bumper clips should not.
Step 4: Confirm Hole Integrity
Panel hole tolerance is critical.
Standard automotive hole tolerance:
- Diameter variation: ±0.1 mm
- Ovality: <0.2 mm
If hole is enlarged, even a new clip may loosen prematurely.
Hole damage often causes more failure than clip weakness.
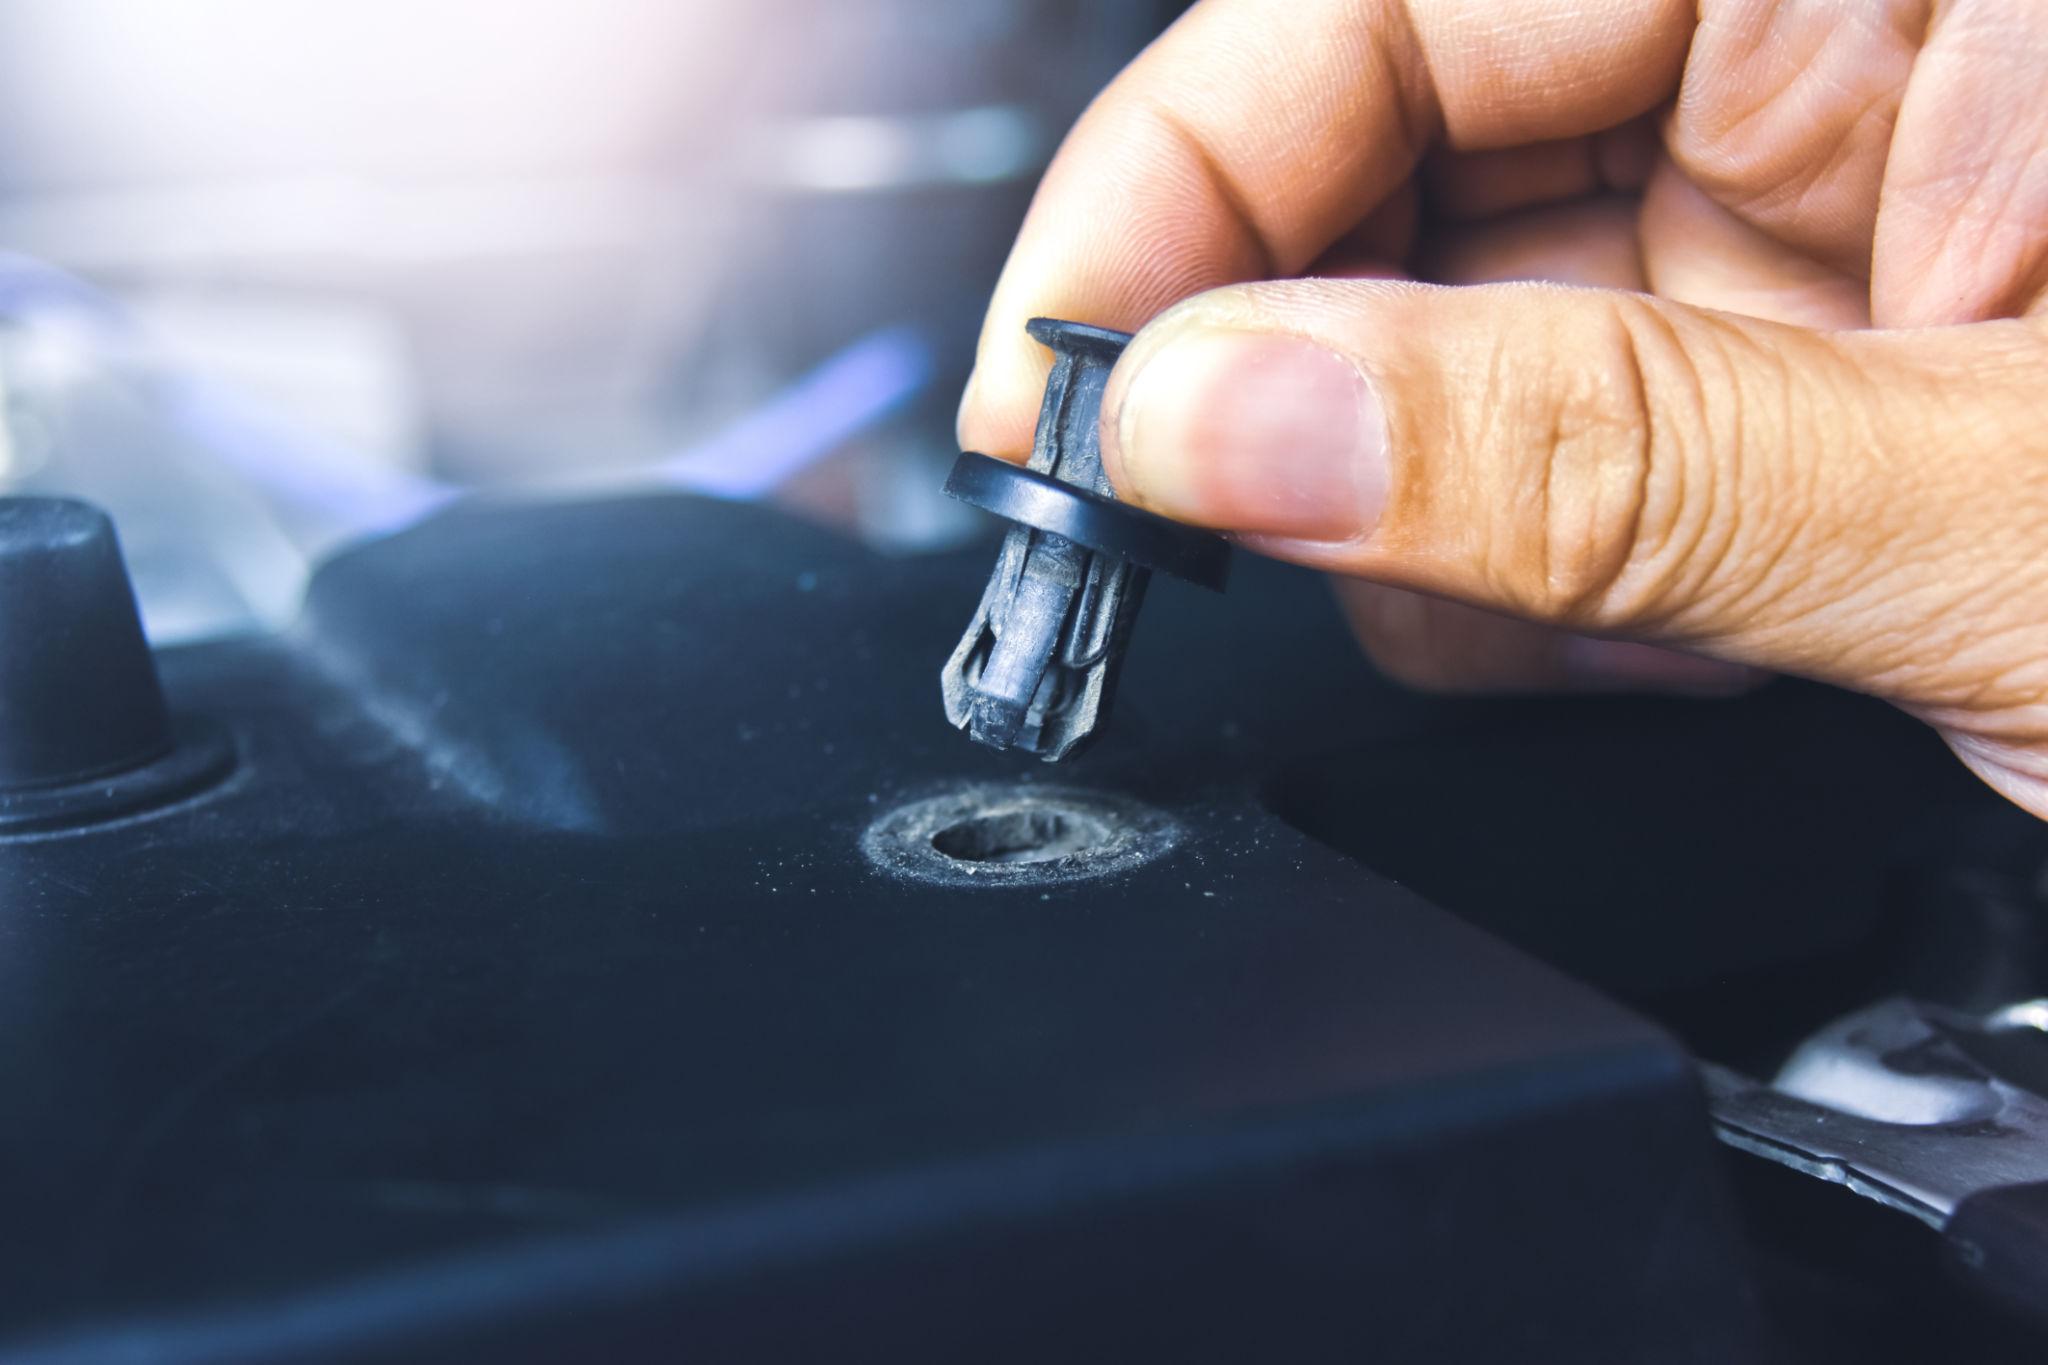
Step 5: Install with Controlled Force
During installation:
- Align vertically
- Apply steady pressure
- Avoid hammering unless specified
Retention should feel firm—not overly tight.
Over-compression weakens plastic structure.
At QEEPEI, we design dimensional tolerances within ±0.02–0.03 mm to ensure stable fit without overstress.
As a global Automotive Clips manufacturer, precision control directly impacts service life.
Why Professional Manufacturing Matters
Material stability influences removal durability.
Our production system includes:
- Heat-stabilized PA66
- Moisture control below 0.2%
- Controlled injection temperature
- IATF 16949 certified quality system
https://www.iatfglobaloversight.org
QEEPEI integrates formulation control and dimensional stability to reduce stress cracking during maintenance cycles.
Real Case: Door Panel Damage from Improper Removal
A regional distributor reported high trim panel warranty claims.
Cause investigation found:
- Technicians used flat screwdrivers
- Removal angle exceeded 30°
- Hole ovality increased
After implementing tool-based removal training:
- Damage claims reduced by 68%
- Clip reuse success improved
- Panel replacement cost decreased
Correct method prevents avoidable expense.
When Replacement Is Mandatory
Replace the clip if:
- Used in bumper or fender zones
- Installed in engine compartment
- Shows visible whitening
- Removal angle exceeded limit
- Retention feels loose after reinstall
Low-cost clips should not compromise structural stability.
FAQ
Q: Can automotive clips be reused after removal?
A: Only if no plastic deformation occurred and application load is low.
Q: Why does panel loosen after replacement?
A: Often due to hole enlargement or wrong clip type.
Q: Are reinforced clips harder to remove?
A: Yes, but they maintain higher retention after installation.
Conclusion
Removing and replacing automotive clips is a technical process, not a quick repair action. Proper tools, correct angle, and material awareness prevent panel damage and future loosening.
A qualified Automotive Clips manufacturer designs for durability—but correct installation determines real-world performance.
At QEEPEI, we focus on structural reliability, consistent material quality, and long-term fastening performance for global B2B customers.
Explore our full clip range:
https://www.cnclip.com/
For bulk supply or technical consultation:
https://www.cnclip.com/contact-us/